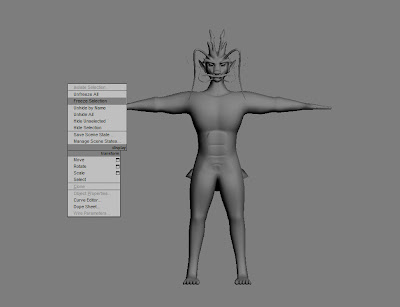
It is time to skin the character now, I have create sever object with bone before, I think the skinning part was the most complicated part I have done. It was not hard, but it really took a lot of time to fix it. Manage which area is controlled by which bone is the most complicated part. One piece of skin area usually was controlled by the vertex on this area. Sometime it just need time to find out a single point I want to control by one bone.
Let’s start with it now and see how it is happened.
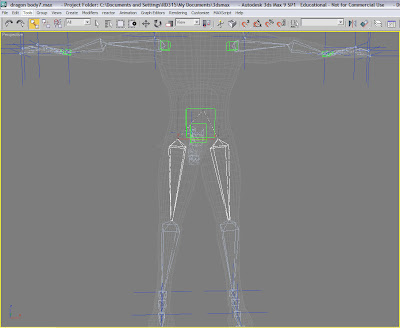
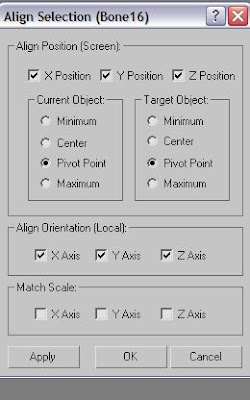
First, unfreeze the character and select it, and then go to modify panel to choose the Skin.
Click add button and select all the bones in the list, do not choose the dummy or something else, or it is going be a trouble to manage the control areas.
After that I took one day time to manage all the point for each bone.
Good news was that I found every bone worked very well, but horrible news was this skin function could not be saved. When I open it again, everything about the skin has gone, that really drag me crazy.
I tried to figure out what’s happened from the beginning, because I have made a dog and it could move very well, but why it not worked this time. Finally, I found that I used the symmetry tool, and I set the skin directly on it, and I remember the process of my head modelling.
How I solved this problem?
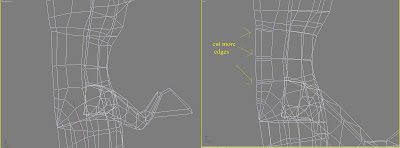
First, I hide all the bone system I have done, and delete the symmetry and Tubemesh, there will be only half body left, use the mirror copy to copy other side,
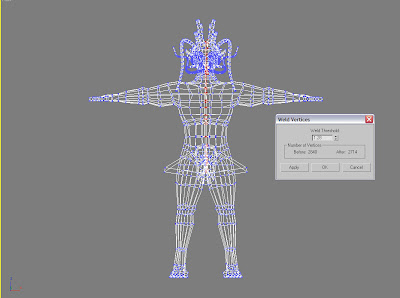
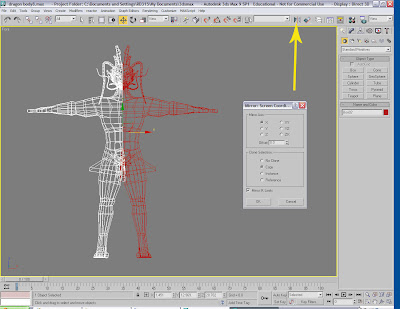 and move them closer. Select the original one and go to the vertex level, attach other half body to merger them together, select all the vertex need to be welded, set the values on the weld panel, and click ok.
this part you should be careful, because the vertex on the head are too intensive, so the value should be lower.In order to weld them easier, I did the head first then the dboy.
Now there is a new body with out the symmetry.
Add the Tubemesh again.
Unhide the bone system I just hided. Adjust the position.
Skin that character again, this time I move the arm up and save it to see if it can be saved, oh, yes, this time it is worked, thanks god.
I have to fix all the points again now.
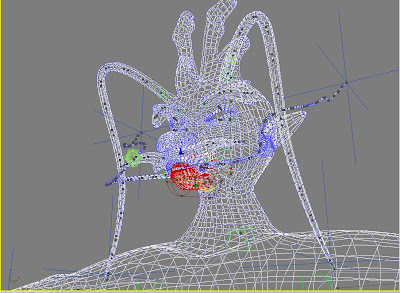
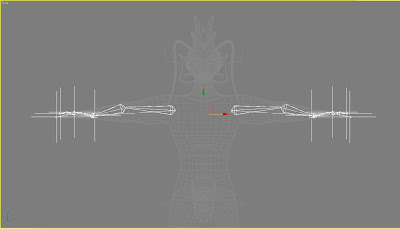
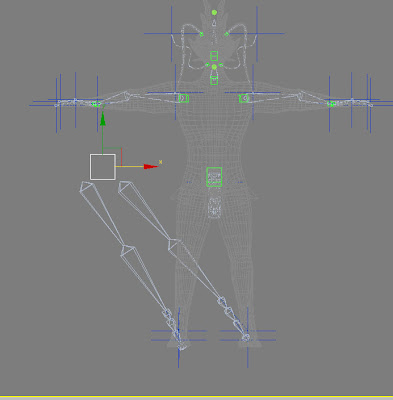
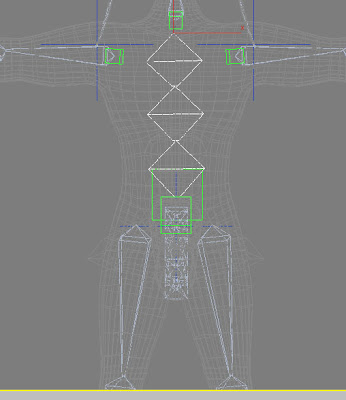
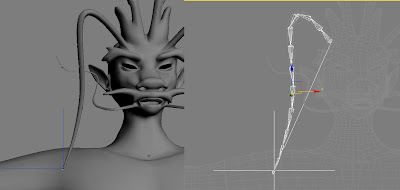
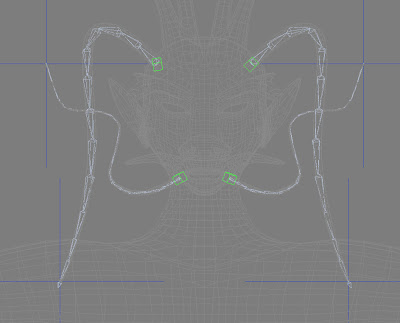
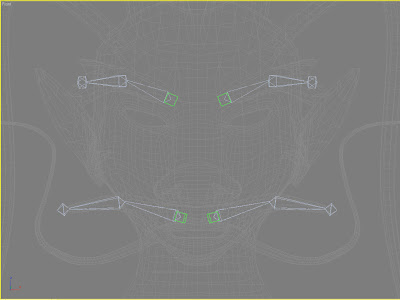
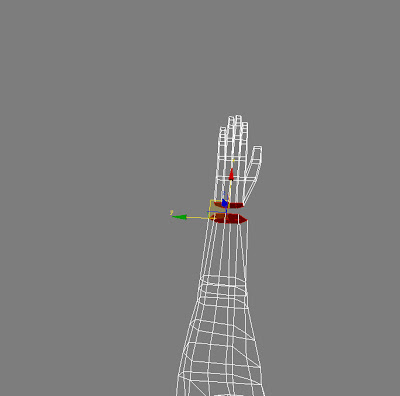
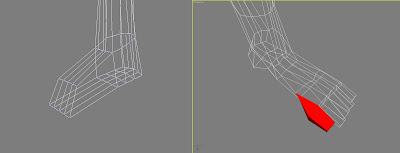
I was doing it from the biggest bone on the head, because it should control most of the head part. Go to skin on the panel and click the Edit envelopes button, it turned yellow, Move the top outside circle on the front of view bigger, so it will affect more point, do not let it affects the feeler, just to the ear.
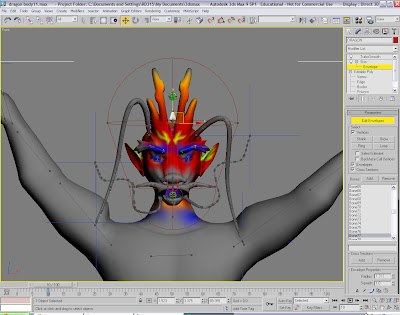
Then move the mouth feeler controller, the cross, we can see it controlled some point on the chin,
 and go to the check the vertex box,
 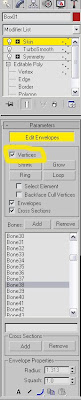 and find that point controlled buy the feeler bones.
 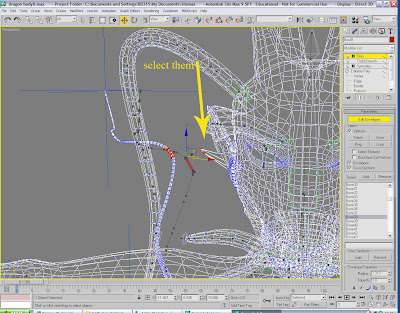 Then click the main head bone, add the effect value to 1. it will go back directly now.
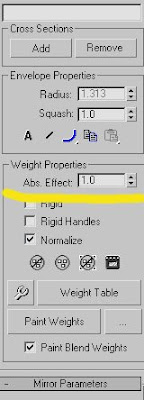
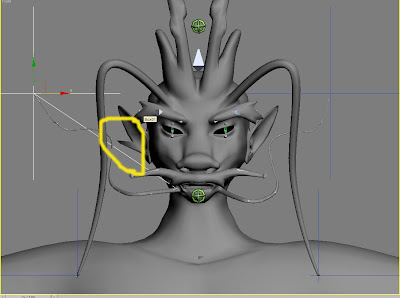
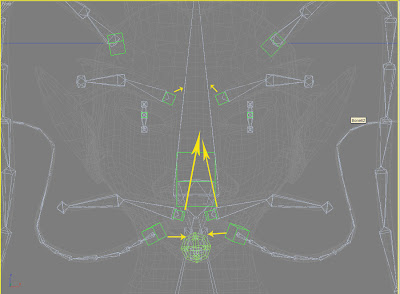
How to fix that, here I use a method that I found it was easier to mange the point. I summarize an easier to manage that.
The way is, move the object (the feeler) ----find the strange point----add the effect value on the bone (main head bone)which should control this point till 1.
I used this method go through all the body. I am not going to talk all the point how I fix, that will be too boring, and some of the part I only can find when I create the animation.
one more example:
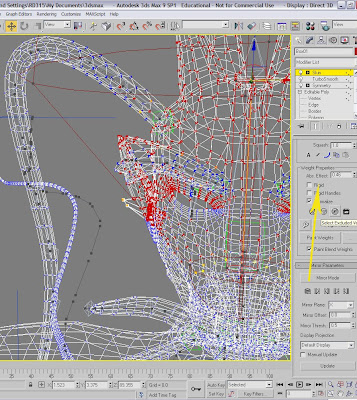
1. move one area
 2.findthe strange points, and slect them
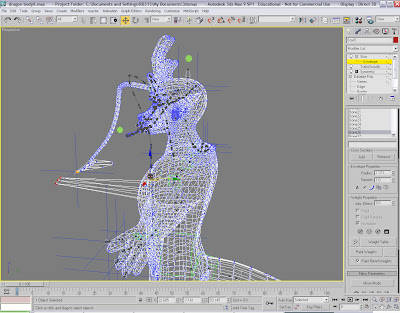 3. add the effect value till 1 on the right bone.
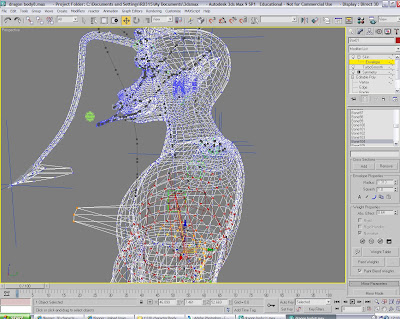
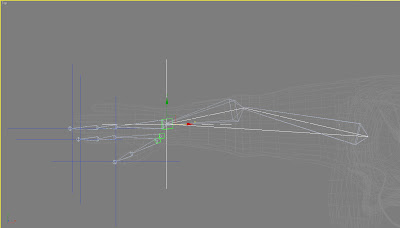
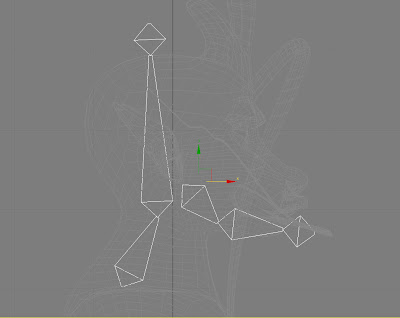
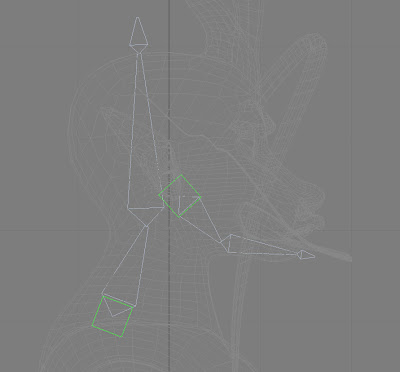
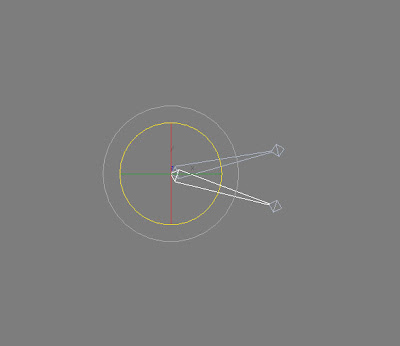
And I will show a special bone that is the eye bone, here is the bone on the Y axle to control the object on the X axle, so I need to turn around the axle of bone from Y to X, and manage the point around it.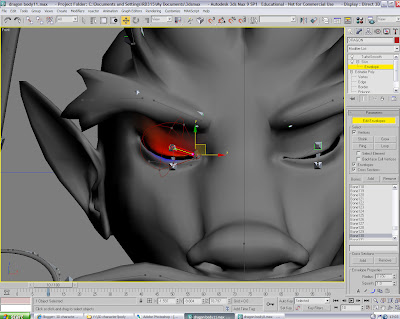
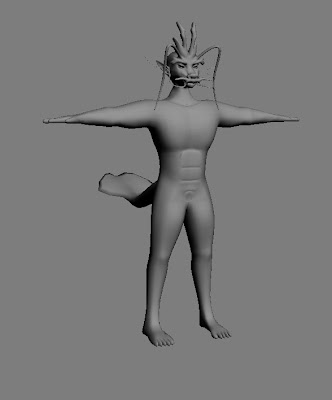
finally, all the body of the character can be controlled by the right bone.
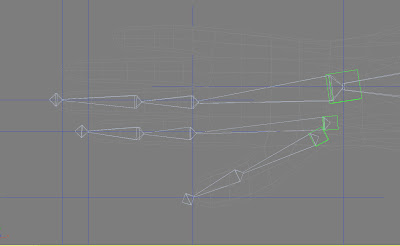
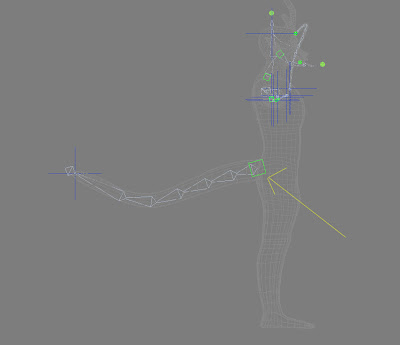
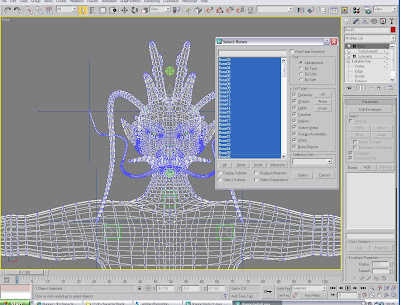
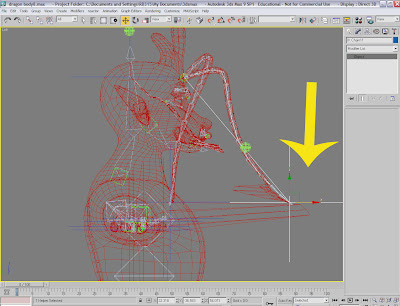
 drag the chest bone to check the action of the whole skeleton.
 So we can control the dummy to control the whole bone chain.
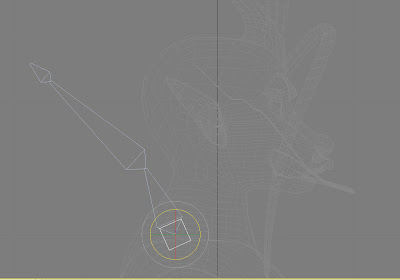

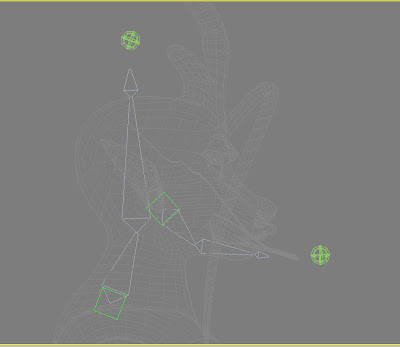
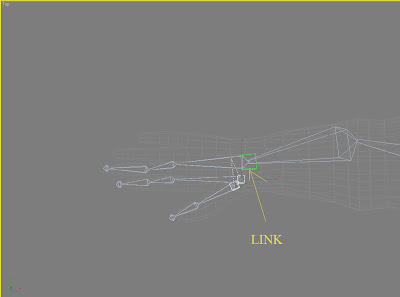
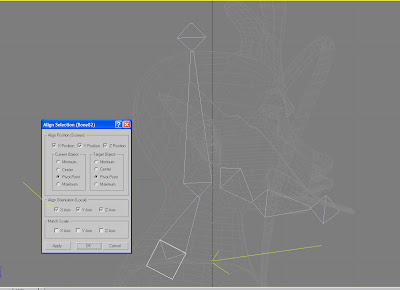
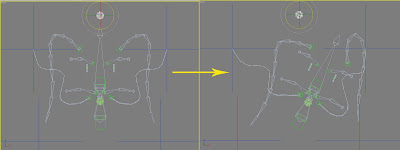
 Create a dummy like before and link both of eye bones to it. Copy this system to the other eye.
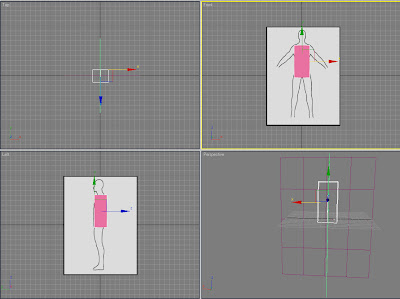 select the box and cover it into editable poly,add Symmetry on it.
 right click the box, go to properties and check the see-through box, it will be easier to see the outline of the body,then adjust the vertex along the shape of body.
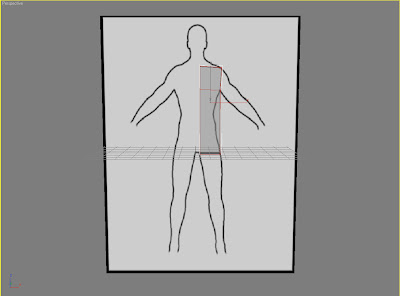 drag the edges to create the leg and arm by pushing the shift key. first I stop once on the joint part.
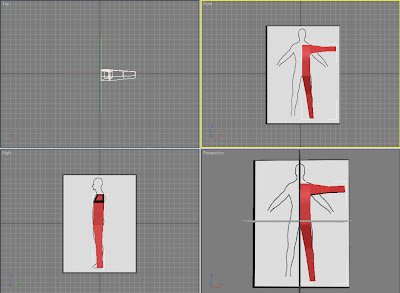 cut some more lines to adjust the shape of the body along this outline, here we get the general shape, and I connect a big circle line until the foot.this line will create some cross points with other lines,
 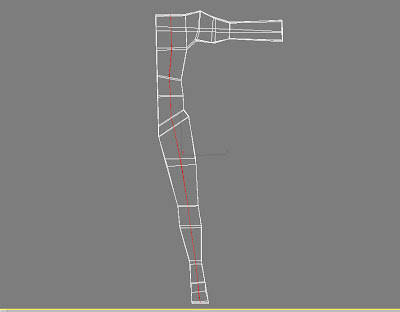 adjust them on the left view, and follow the left side image of body. add line for the part need to be changed. such as the waist part.
 go to the polygon level, I will use the bridge tool to connect both parts to the body.
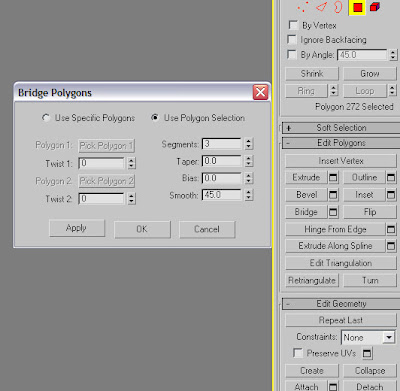
 go to modify panel and click the bridge button, the part between will be bridged automatically.
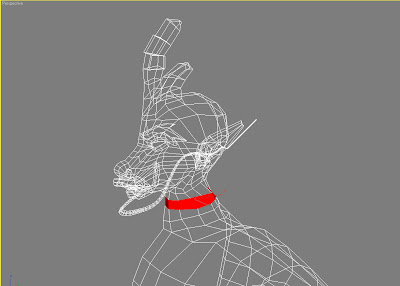 it may not good enough on the connective parts, they need to be adjusted on the vertex level as last.
 cut the some two new edges for each piece of muscle. and pull it to the front.