Tuesday, 28 April 2009

Final animation

limitation
By now evey parts of body can be moved freely, however, it is regretful that I could not have enough time to create clothing and martial for my character, but I will finished them if I get more time, and other thing was that you might care why I did not make eyeballs instead of the blank eyes. That was because my design idea was to create fireball eye,and I have created fireball successfully, but when I was going to put it into my character, they did not work, I did not find out the reason why until now, so I just left it like that. when I solve this problem I will make the eye fired.
this the eye should looks like:


this character I have created the fired eyeball inside, but they did not work.I just put a fire effect on the top of tail, make this character cooler.


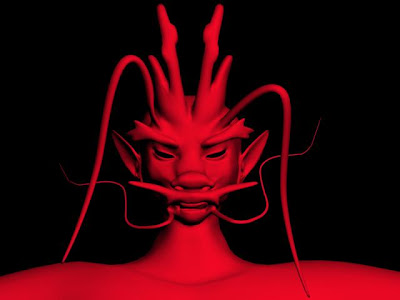
But any parts of the body of the character were free to move by now, it's good, and I will create two parts animation for the face and the whole body ,because I found that it was not easy to see the expression detail when I create the whole body animation, and I put a red colour material on the character before I create the animation.
I just created few of expressions in this small video:

Head animation:
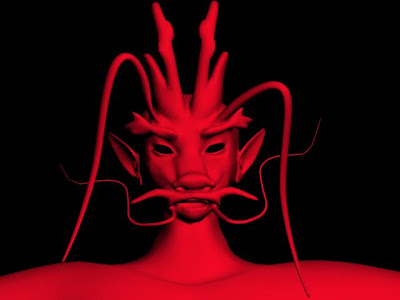

1.sad
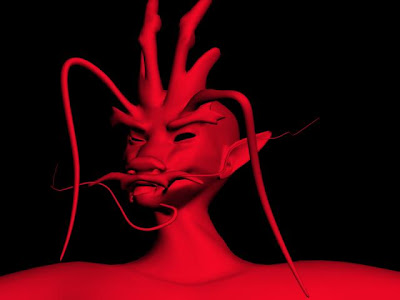
2.hit

3.anger

4.surprise

The expression video:


Body animation:



Body animation video:

Saturday, 28 March 2009

Skin the character

Skinning

It is time to skin the character now, I have create sever object with bone before, I think the skinning part was the most complicated part I have done. It was not hard, but it really took a lot of time to fix it. Manage which area is controlled by which bone is the most complicated part. One piece of skin area usually was controlled by the vertex on this area. Sometime it just need time to find out a single point I want to control by one bone.

Let’s start with it now and see how it is happened.
First, unfreeze the character and select it, and then go to modify panel to choose the Skin.

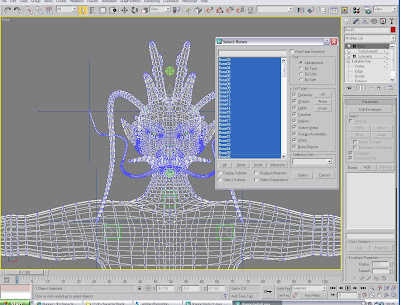
Click add button and select all the bones in the list, do not choose the dummy or something else, or it is going be a trouble to manage the control areas.

After that I took one day time to manage all the point for each bone.
Good news was that I found every bone worked very well, but horrible news was this skin function could not be saved. When I open it again, everything about the skin has gone, that really drag me crazy.

I tried to figure out what’s happened from the beginning, because I have made a dog and it could move very well, but why it not worked this time. Finally, I found that I used the symmetry tool, and I set the skin directly on it, and I remember the process of my head modelling.

How I solved this problem?
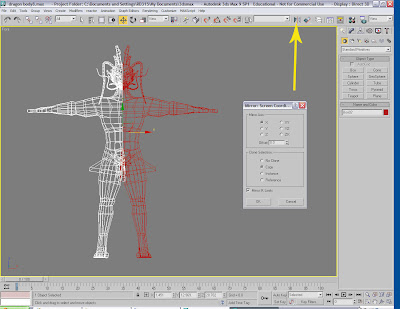
First, I hide all the bone system I have done, and delete the symmetry and Tubemesh, there will be only half body left, use the mirror copy to copy other side, and move them closer. Select the original one and go to the vertex level, attach other half body to merger them together, select all the vertex need to be welded, set the values on the weld panel, and click ok.
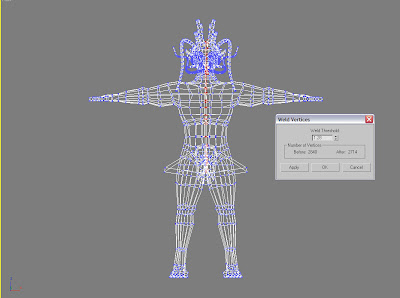
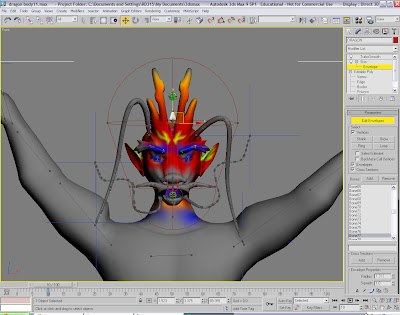
this part you should be careful, because the vertex on the head are too intensive, so the value should be lower.In order to weld them easier, I did the head first then the dboy.
Now there is a new body with out the symmetry.
Add the Tubemesh again.

Unhide the bone system I just hided. Adjust the position.
Skin that character again, this time I move the arm up and save it to see if it can be saved, oh, yes, this time it is worked, thanks god.

I have to fix all the points again now.

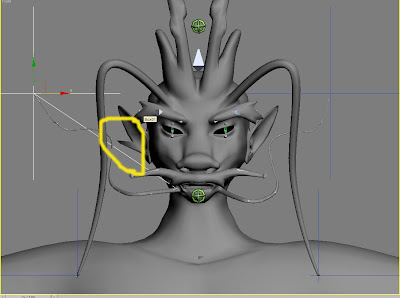
I was doing it from the biggest bone on the head, because it should control most of the head part. Go to skin on the panel and click the Edit envelopes button, it turned yellow, Move the top outside circle on the front of view bigger, so it will affect more point, do not let it affects the feeler, just to the ear.

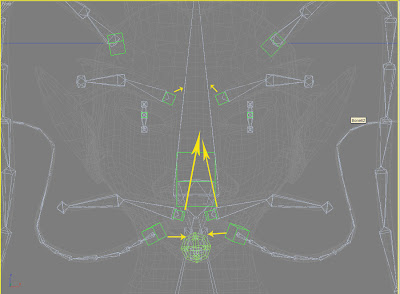
Then move the mouth feeler controller, the cross, we can see it controlled some point on the chin, and go to the check the vertex box, and find that point controlled buy the feeler bones. Then click the main head bone, add the effect value to 1. it will go back directly now.
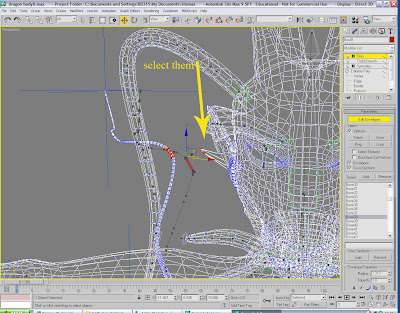
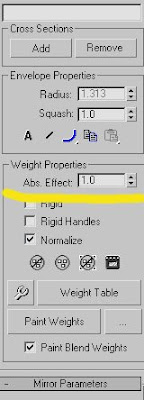
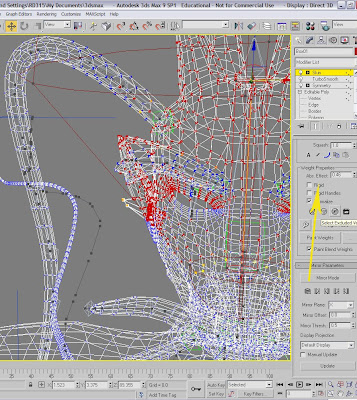

How to fix that, here I use a method that I found it was easier to mange the point. I summarize an easier to manage that.

The way is, move the object (the feeler) ----find the strange point----add the effect value on the bone (main head bone)which should control this point till 1.

I used this method go through all the body. I am not going to talk all the point how I fix, that will be too boring, and some of the part I only can find when I create the animation.

one more example:
1. move one area
2.findthe strange points, and slect them3. add the effect value till 1 on the right bone.
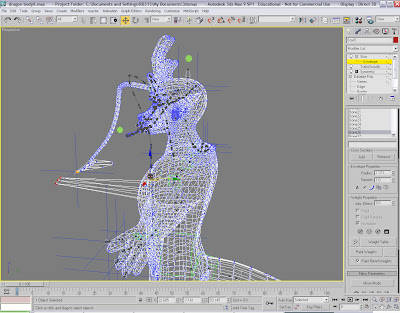
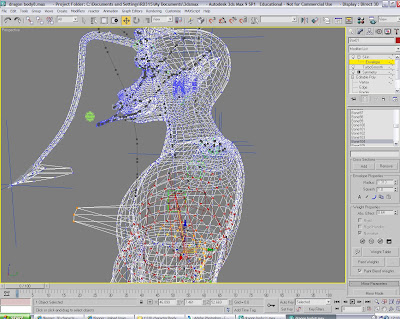
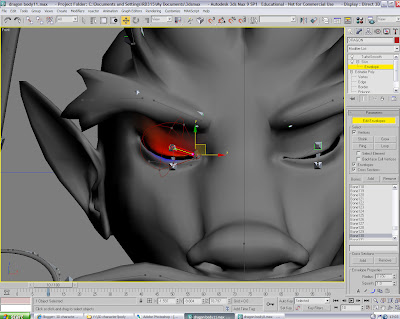

And I will show a special bone that is the eye bone, here is the bone on the Y axle to control the object on the X axle, so I need to turn around the axle of bone from Y to X, and manage the point around it.

finally, all the body of the character can be controlled by the right bone.

Sunday, 15 March 2009

Part II- skeleton of body

With the experience of setting the head bones, I will carry on the body part.

The arm and the hand
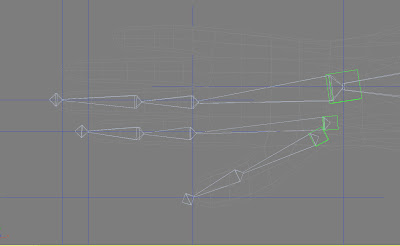
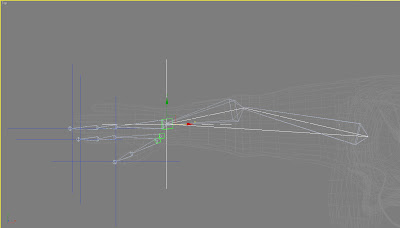
Firstly, go to top of view, and drag a bone from the end of arm to the elbow, then other to the wrist, remember there is a 120° angle between those two bones, this will prepare for setting the IK solvers latter.

Next carry on this bone chain to the middle finger, and stop once when we meet a joint. I should change the size of the bone all the time when I was setting the bones. Because the bone for the arm part was too big for the hand, I reduce size to 1, and go to the bone tool to make an angle on the finger bone.

Start from the wrist joint to create other finger bone for the Index finger, and create the thumb as well. And go to bone tool to edit the each bone’s position.

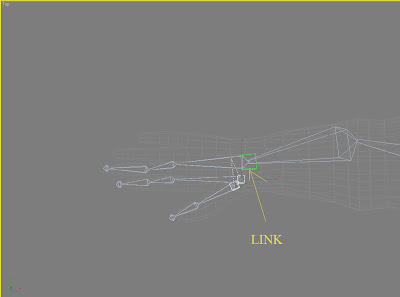
Drag 3 dummies and move them to the first bone of the thumb, the index and the middle finger, and then link the first bone of the thumb and index finger to their dummy, and link the dummy of middle of finger, and as last link both of thumb and index fingers’ dummy to the middle finger.

I just set 3 fingers for this character, based on the experience I set bone for the hand, and I think that it should be enough to express the action of the hand.


Set the IK solvers
Select the end of bone of index finger and go to Animation- IK solvers- HI solvers. And drag the line to the second bone of the index finger. We can bend the finger by move the cross on the front of view.

Same to the middle and thumb finger.

Select the first bone of the middle finger and set a HI solver to the first bone of arm. This cross will control the arm bending.

Add a dummy to control the whole arm like before.

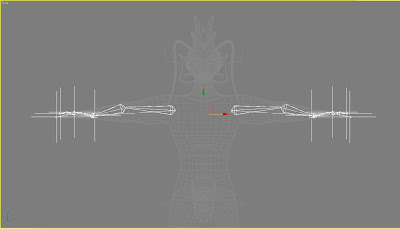
At last, mirror copy the whole arm and hand bone to the other side.

The tail

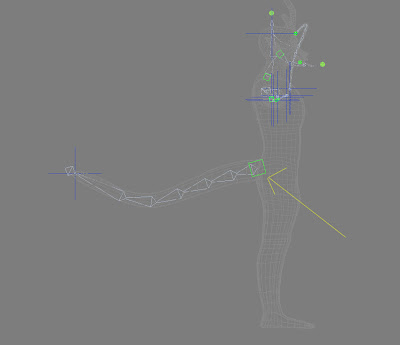
The way of setting the tail’s bone is same to the feeler’s bone. Only difference is the size should be bigger then that.

The legs and foot bone

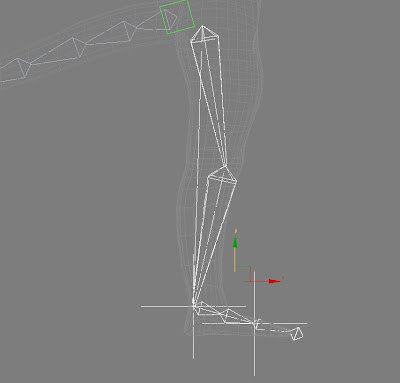
Go to the left of view and drag a bone from the end of leg, the way is same to the arm.

And create 3 bones to the foot, because I need to create the feeling of walk further.

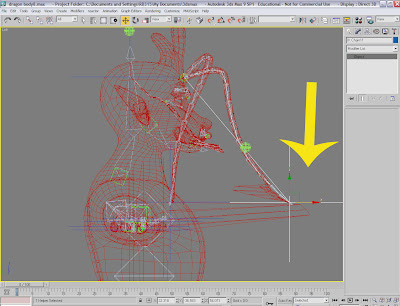
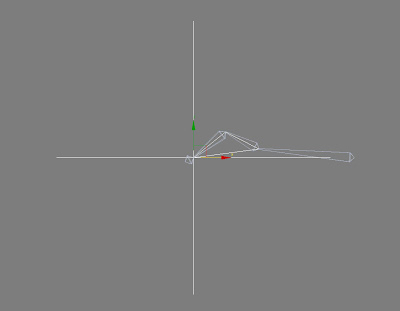
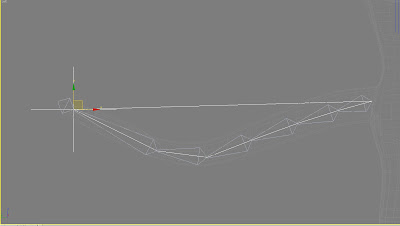
Go to bone tool to move all the bones, and create an angle and carve on the left of view like the picture below, then go to the front view and move the bone into the leg.

Set the HI solver from the end of foot to the first one, and select the first bone to set a HI solver to the first bone of leg.

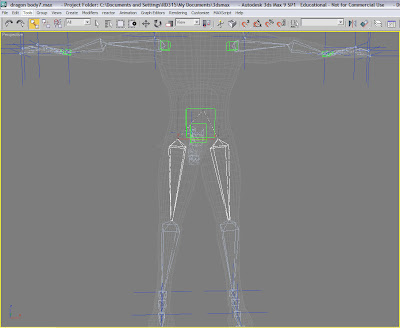
Mirror copy other leg.

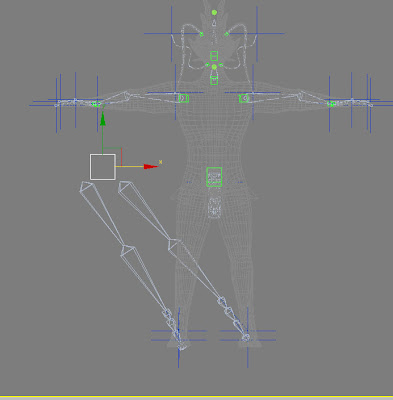
As last, build a big dummy, and move it onto the both legs, and then link both of the first bone of both legs to it.

With this dummy we can control both of legs together.

drag the chest bone to check the action of the whole skeleton.
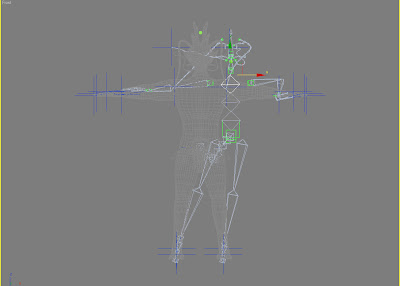
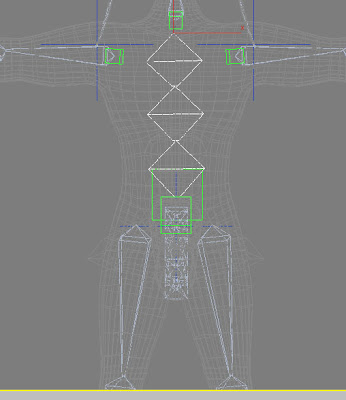
The Trunk
I just set 3 bones for the trunk, my way is setting it from the cheat to the waist, so I can control the cheat bone as the main body controller.

Link the main head and arms’ dummies to the first trunk’s bone.

Link the tail and legs’ dummies to the end trunk’s bone.


We have to go to bone tool to check the bone, and go around the whole character to see if there are any problem, otherwise, it is going to have a lot of trouble when we skin the bone to the character in next blog- the skinning.

Wednesday, 11 March 2009

Set the skeletons-part I-Head

After finish the modelling part, it used me several days to work on that character to adjust and modify it much better, I thought to create a clothing for this character, but because the lack of time, I decided to concentrate on the animation part from now on.

When we are working on a 3d animation, the bone is a very useful necessary tool to control and manage the movement of the character. I am not going to set the unique skeleton for my character, because there are too many special parts on my character, for example, the feeler and the tail, especially the important thing is that I would like to show the expression on the face of character, it is going to have a big trouble if I used the biped as the skeleton.

Design the Skeletons
I will use the bone to set the whole skeleton for this character, because it is a very complicated process to create the whole skeleton from the head to the toes, so I divide it into 5 parts, the head, arm, leg, tail and the body, I will build them one by one.
The tool of controlling the bone I use the dummy, so I will create a dummy for each single bone system.
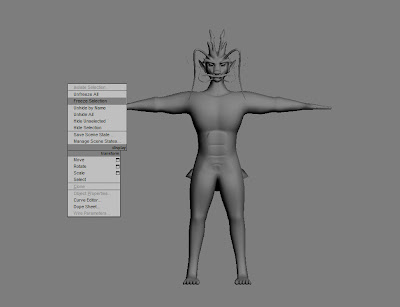
Before I set the bone right-click and freeze the character.
1. Head
Start with the top part, the head, in my opinion it is not only the hardest in the bone part, but also the tough part in the process of skinning. Because I plan to control the feeler, eyes and mouth by bones, it is very hard to control the small parts with the bone, some time it is much harder to find the points during the process of skinning.

1.1 feelers

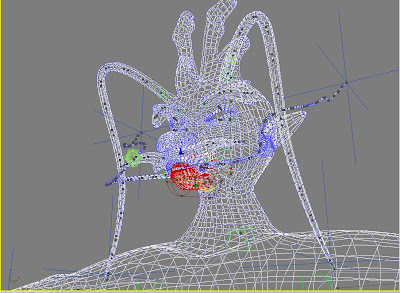
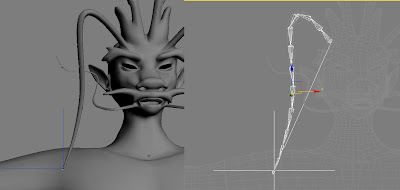
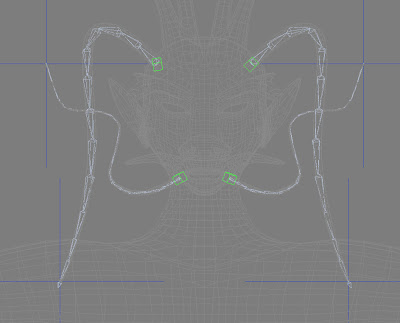
First thing I created was the feeler, go to the modify panel to choose the bone tool, start from the connection between the feeler and the head in the front view, because I want to control the whole feeler by controlling the end point. I used 13 pieces of bone on this feeler, it doesn’t matter how many bone you used, more bones you used, more active the feeler is, but for me 13 pieces of bones are enough to express the animation in this part.

Here is a trouble, when you go to the left view, and you will find that all the bones are not inside the feeler, it can not control the feeler at all, and to edit the bone I am going to use the bone tool. Because we can not move the bone directly, can’t we?


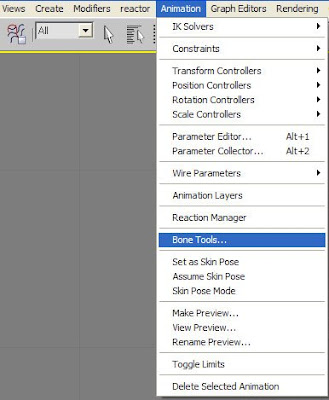
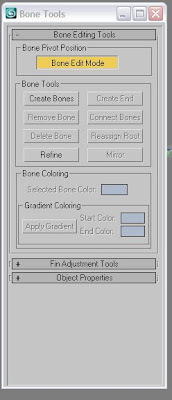
Go to Animation-Bone tool and click Bone Edit Mode button. Move the bone on by one into the feeler.

Click the last bone and go to Animation – IK solvers- HI solvers. Link it to the first bone. There is a cross will come on the last bone.

Same way to create the other feelers, but on the mouth feelers I need the small size of bone.

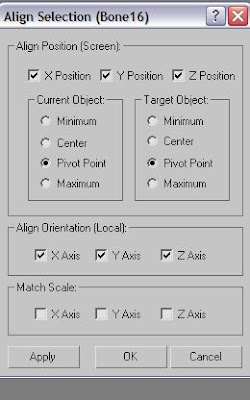
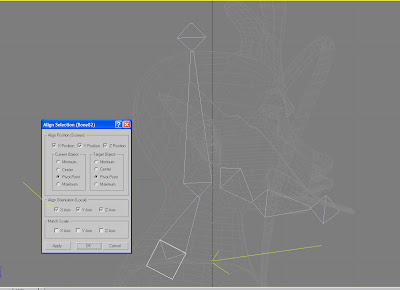
At last create 4 dummies from the helper tool. Move them to the top of the first bone for each, set value like below.

Link the each first bone to the dummy, so we can move the whole feeler bone by move the dummy. This method I will use a lot during the process in the further creating.

1.2 Head and jaw bone
Next I will create the bones for the head and jaw, I learned this from a tutorial, and I think that this method is quite interesting and useful.
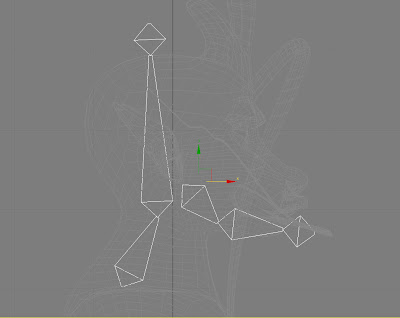
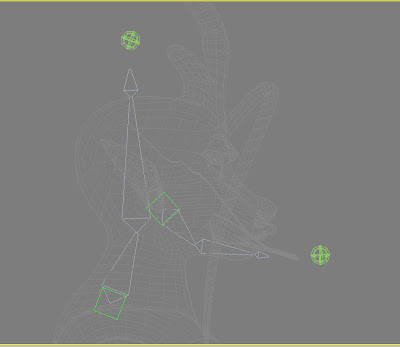
First create bone like the picture below, and resize the bone, it is too big for the jaw.

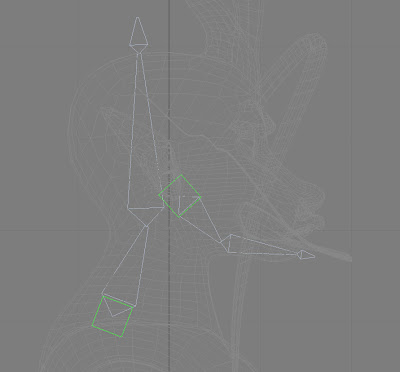
Create two dummies and link them for the first bone of head and jaw, same as dummy for the feeler. Link the first bone to the each dummy. So we can control the dummy to control the whole bone chain.
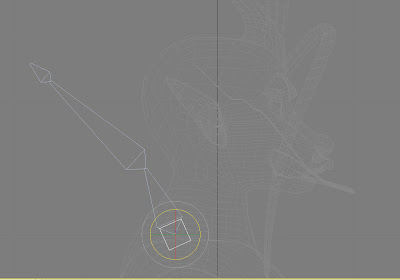
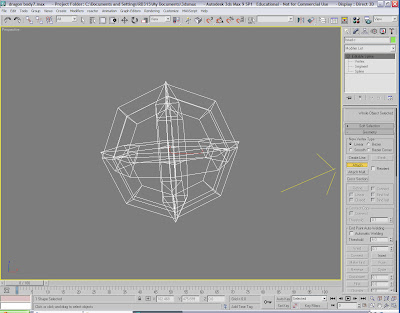
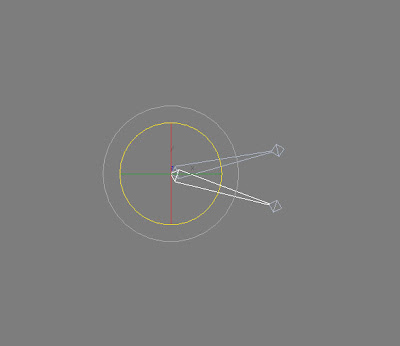
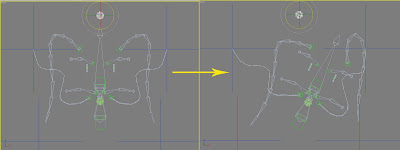
Then here it is the tricky part, I am going to create a rolling controller to control the dummy, firstly, drag a circle, and set the size to make it nice to see. Roll and copy it by click the shift key along the X an Y by 90°, then cover the first one into Editable spline and go to vertex level to attach other two circle copied. Here it is one object now.

Move it to the front of mouth and copy another one and then move it to the top of head.

Click the dummy on the jaw one, go to Animation-Constraints-Orientation Constraints, and then link it to the controller. Do the same thing to the head controller.

Now we can roll the controller to move the head and jaw. When we test the head controller we can see the jaw bone does not follow the head, that is a big problem because it is going to open the mouth when we move the head, the reason is the mouth controller not follow the head bone, so to solve this problem I just link the mouth controller to the biggest head bone. Now they move together.

1.3 Eye bone

There is no eyeball right now, so I just want to control the eyelid to express the action of open and shut eyes.

The bone setting for the eye is easier, just create a small bone from the centre to the upper eyelid, and then copy other one by roll the upper one. Create a dummy like before and link both of eye bones to it. Copy this system to the other eye.
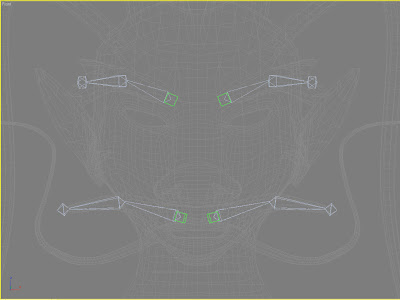
1.4 eyebrow and moustache bone

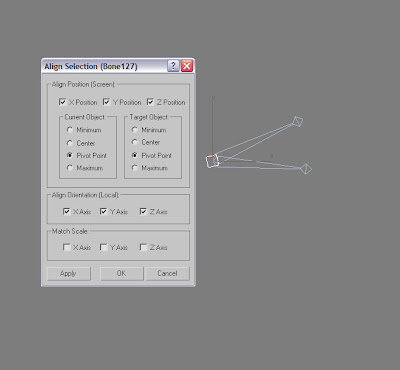
Create 3 bones for each along the shapes of the eyebrow and moustache. Don’t forget link them to a dummy.

At last, link the dummies of all the head feelers, eyes, eyebrows and moustache to the biggest head bone, and then link the mouth feelers’ to the biggest jaw bone, that is because they are going to fallow the action of the jaw bone when mouth is opened.


By now you can roll the the head controller to see if all the bones in the head moved nicely with the main head bone together.


This is the reason why I create one dummy for each bone chain, because we can not link the bone to bone directly, it is going to break the links between with other bones.and with the dummy as a connection, like bone-dummy-bone. besides,we can control the whole chain easily by the dummy.

I will set the body's bones by the same way.