This body modelling I will follow the image of a body to fix the proportion of body, then when I finished the basic modelling I may change it by my character's body design idea.
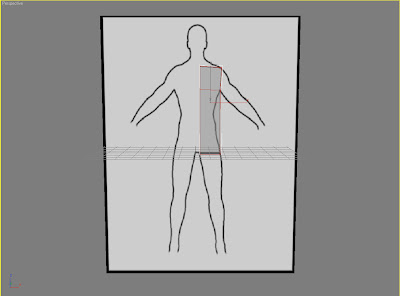
firstly, input two image, drag a box on the body part.
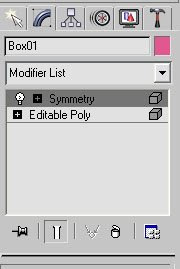
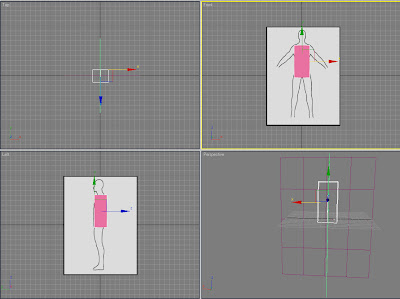 select the box and cover it into editable poly,add Symmetry on it.
 right click the box, go to properties and check the see-through box, it will be easier to see the outline of the body,then adjust the vertex along the shape of body.
 drag the edges to create the leg and arm by pushing the shift key. first I stop once on the joint part.
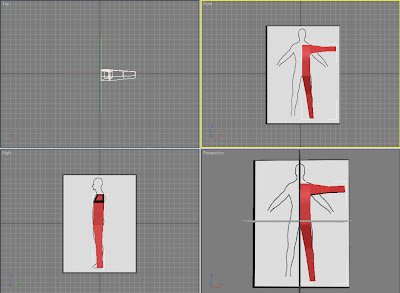 cut some more lines to adjust the shape of the body along this outline, here we get the general shape, and I connect a big circle line until the foot.this line will create some cross points with other lines,
 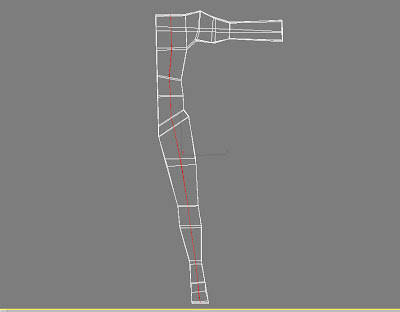 adjust them on the left view, and follow the left side image of body. add line for the part need to be changed. such as the waist part.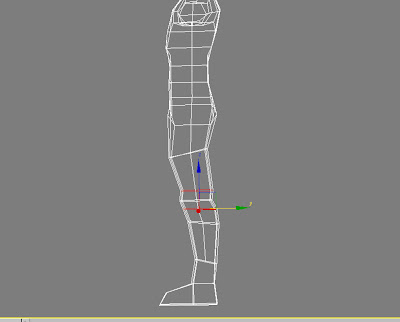
after I finish to build the basic shape of the body, next It needs to take time to fix the whole body by cutting more lines on the body,I will not write every single step here.
when complete the body part, merger the head and hand parts which have been created before.
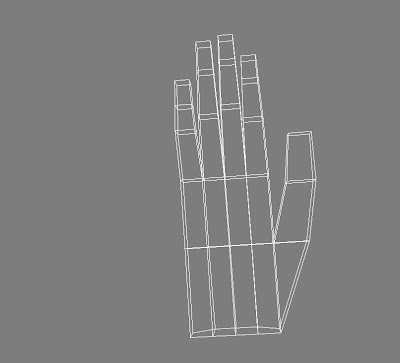 go to the polygon level, I will use the bridge tool to connect both parts to the body.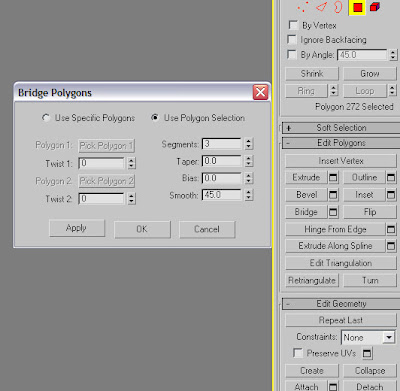
first, move the head and hand closer to the body, and then select the faces need to be connected on both sides, head and hand parts,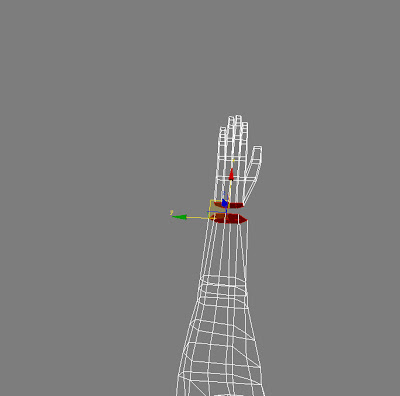 go to modify panel and click the bridge button, the part between will be bridged automatically.
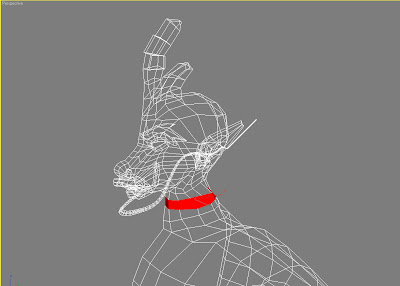 it may not good enough on the connective parts, they need to be adjusted on the vertex level as last.
go to modify panel and click the bridge button, the part between will be bridged automatically. it may not good enough on the connective parts, they need to be adjusted on the vertex level as last.I created a long tail on the body, same way like creating the feeler, and choose the face where the tail will grow, draw a carve on the left view, and pick the carve and click the Extrude along splines button.
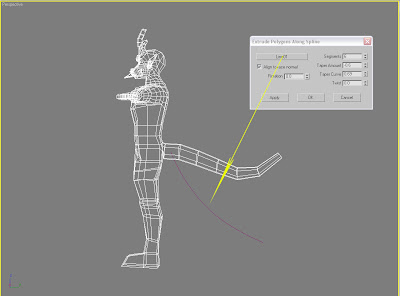
extrude the last segment of the tail, and create the top of tail. I got the design idea from the shape of devil ray's body.I think it is really cool when this fish is swimming in the ocean.
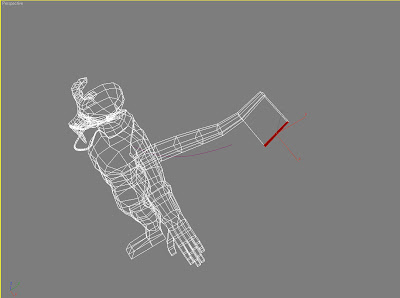
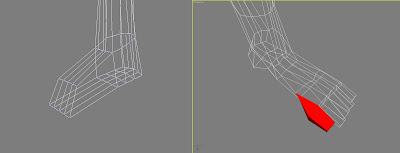
last step, I create toes for this character, devide the feet into four parts, the big toes will be extrude from the side of second toes, the create method is just the same to the hand. but I extrude all the toes only once, because there is no animation will be created here, so I make them as simple as possible.
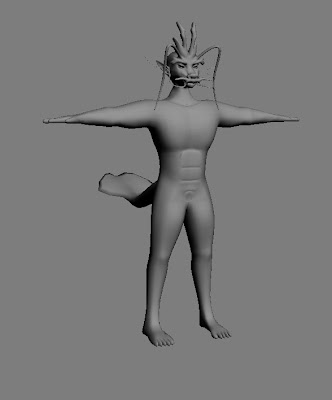
By now , the whole character is created, but there are a lot of parts need to be rebuilt and improve, I add more muscle for the body, like the Chest and Abdominal muscle. those make the character more stronger and prefect.
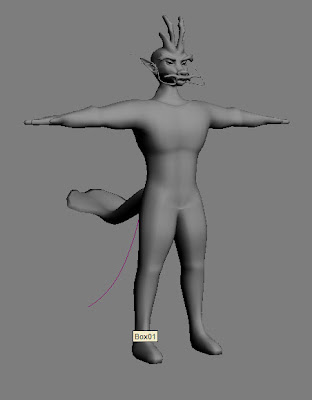 cut the some two new edges for each piece of muscle. and pull it to the front.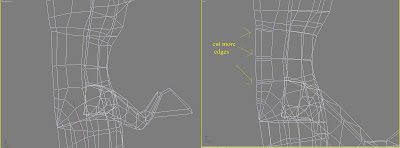
the process of prefect the character really took a lot of time, I cut many new line to make the body looks more reality.
at last, go to modify panel and choose the Tubemesh to check how it looks.

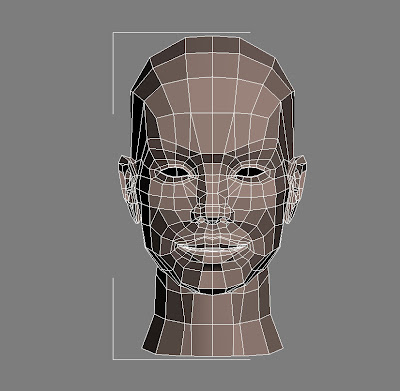 Firstly, save the head modelling as a new 3D file called dragon king.
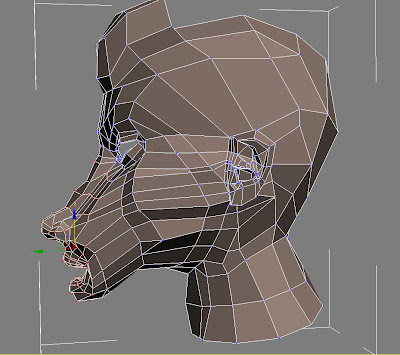 then cut sveral new edges on the extended part, there is no rule how many lines should be cut. the aim of doing this is just for making the extended part more physically.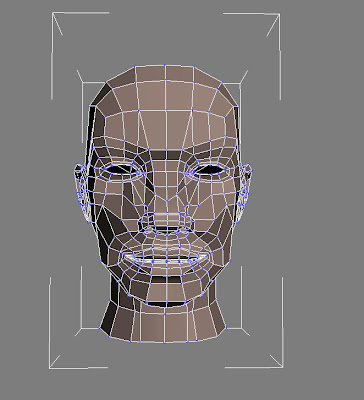
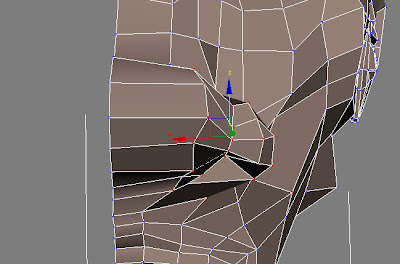
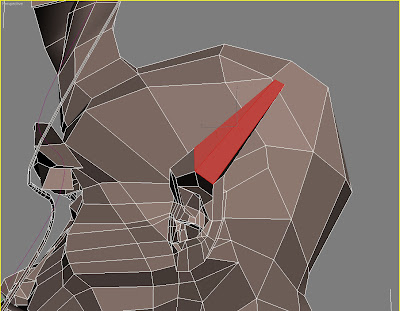
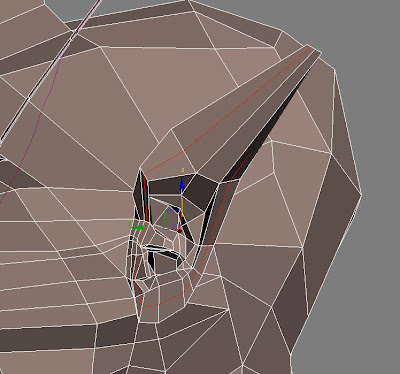
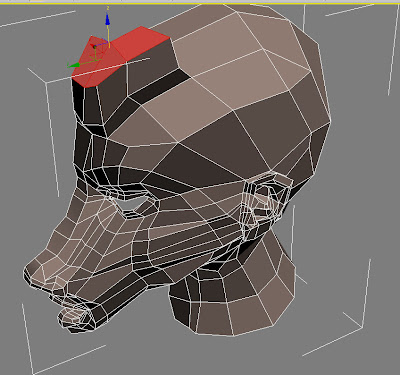
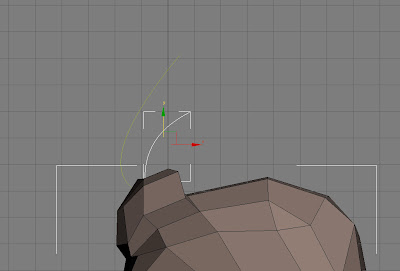
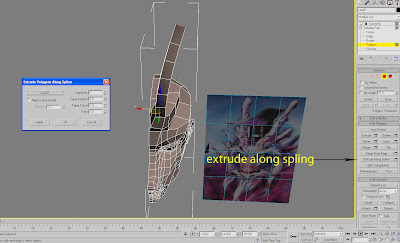
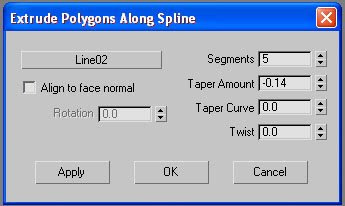 adjust the new part by cutting some lines on them. the way is where need to be adjust I will cut a line to add some vertexes.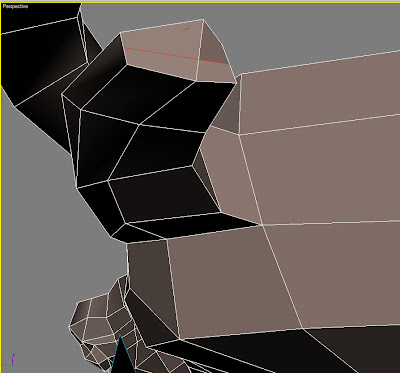
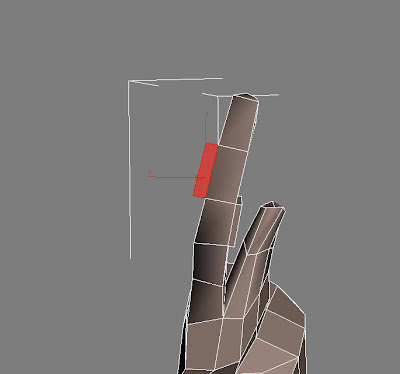 2.2.The eyebrow
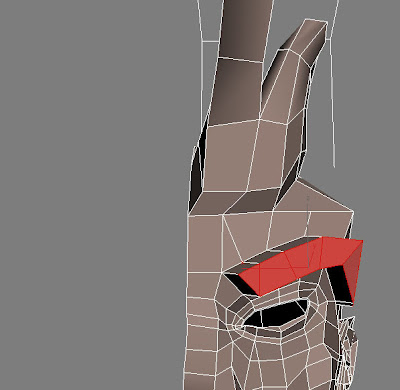 cut new line on the extrude face, and drag it to the front.


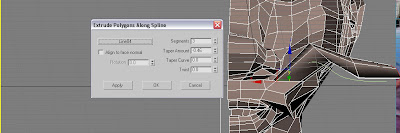 adjust the shape, cut a line on the conection
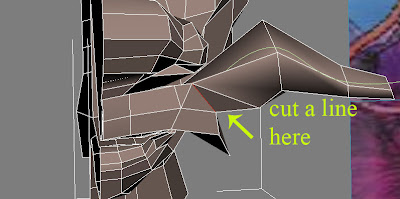 add another line ont the top and delete the old one, and then drag the new line up.
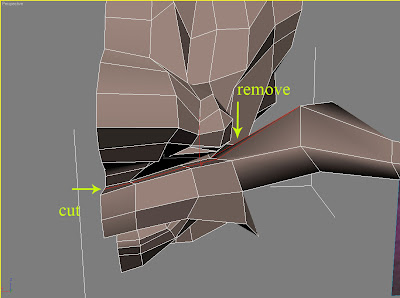 cut a line on the buttom as well.
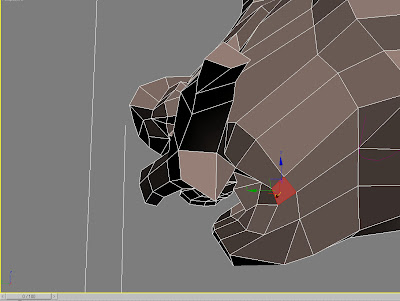
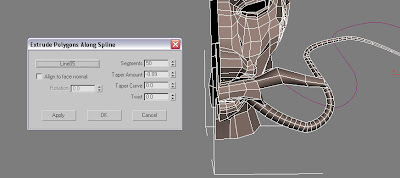 I will create a same one on the forehead, but it is part of the hair, not a feeler.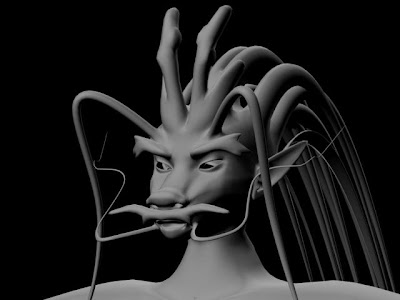
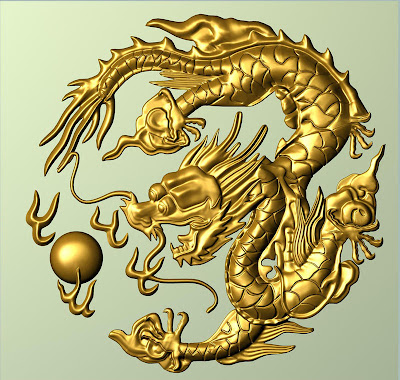
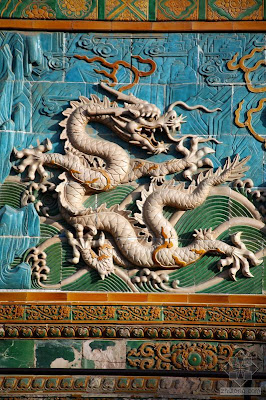
 Chinese style dragon
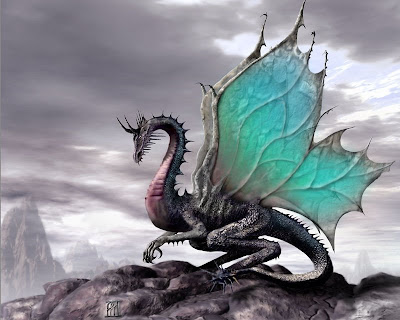 western style dragon